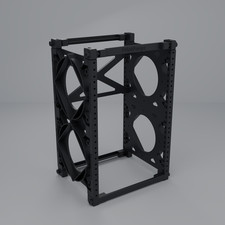
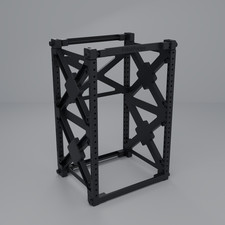
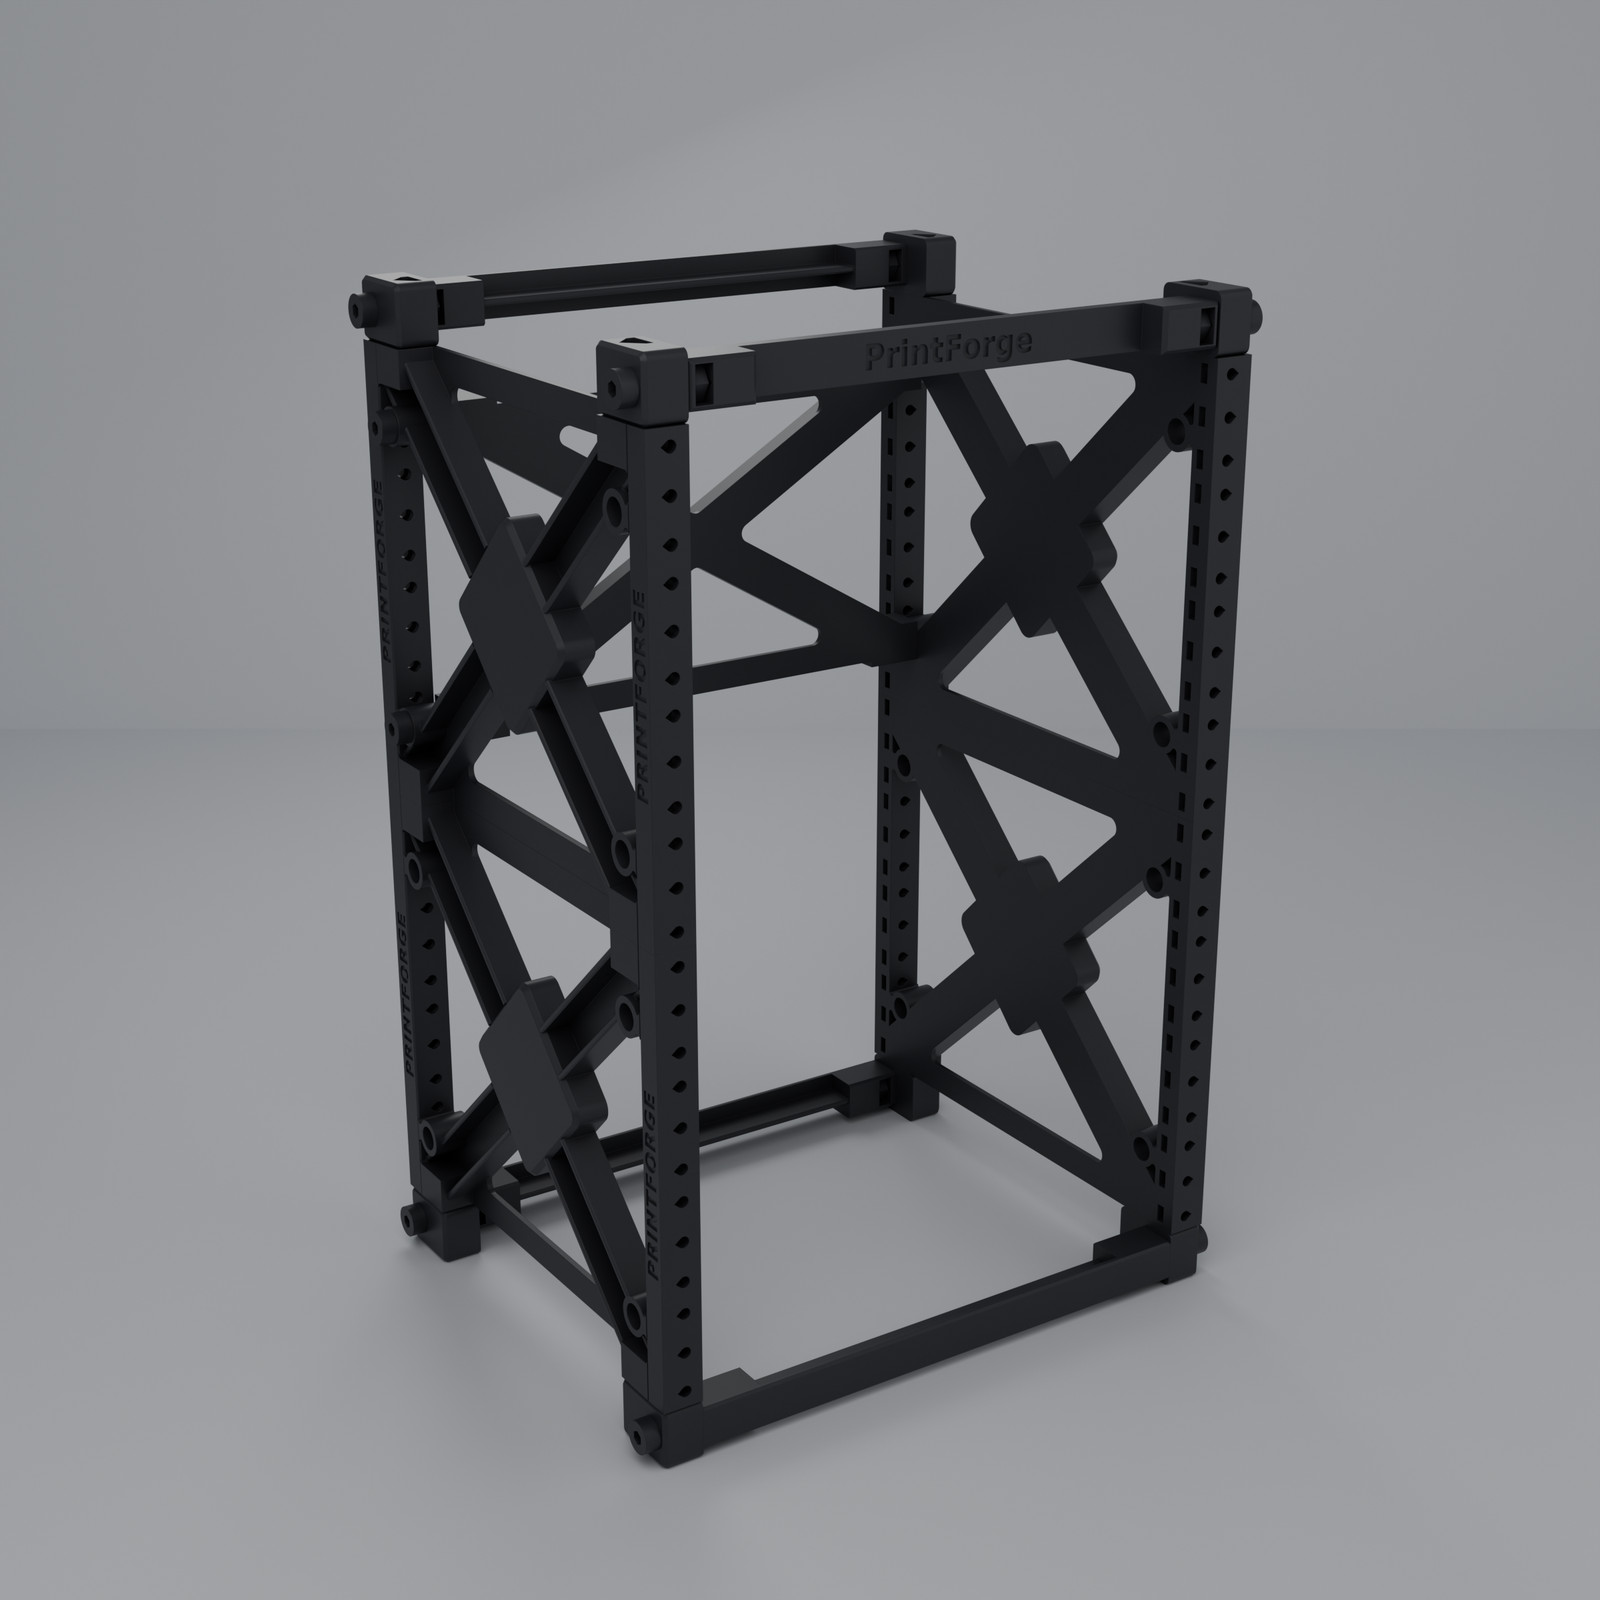
 When you click on links to various merchants on this site and make a purchase, this can result in this site earning a commission. Affiliate programs and affiliations include, but are not limited to, the eBay Partner Network. PrintForge ForgeRack 10 Inch 8U Mini Rack Kit - X-Brace Edition An open-frame 8U rack for 10 inch gear: skeleton X-brace side frames, corner caps that double as feet, cross rails, a rear brace and printed thumb bolts. It goes together by hand with no tools. Made to order in matte black PETG. Fits - Hole pattern: EIA-310 10 inch spacing, 236.5 mm between hole centres, 3 holes per U, 8U of mounting space.
- Clear opening: 222.5 mm between the side frames.
- Panel width: full-width 10 inch panels up to 254 mm wide. The front posts measure 255.3 mm across, so a 254 mm panel's ears rest flat on the posts right out to their edges. Fits PrintForge 10 inch trays and other makers' 10 inch gear.
Screws For Your Equipment (Not Included) - M5 or #10-32: thread straight into the rack holes. No cage nuts.
- M4: push an M4 hex nut (not included) into the pocket behind the hole, then screw into it.
- Length: about 5 to 11 mm longer than your ear thickness (for example M5 x 12 for a 5 mm ear).
In The Box (All Printed) - 4 x side frames (solid X-brace)
- 8 x corner caps (they are also the feet)
- 3 x plain cross rails
- 1 x PrintForge nameplate bar (top front)
- 1 x rear X brace
- 12 x alignment pins
- 12 x printed thumb bolts
- 12 x printed nuts for the thumb bolts
Assembly - Lay out the parts. Each side of the rack is two frames stacked, with corner caps at the top and bottom. The frame face with the small hex pockets goes INSIDE the rack; the PRINTFORGE lettering faces OUT.
- Push an alignment pin into the socket at the bottom of each frame post and stand the frame on two corner caps. Stack the second frame on two more pins, then press two caps onto the top with pins. The five-sided pins only fit one way. Build both sides the same way.
- Drop a printed nut into the slot at each end of the three rails, the nameplate bar and the rear brace.
- Stand the two sides facing each other. Join them with two plain rails at the bottom, front and rear, flat face outward: a thumb bolt goes through each corner cap from the outside and threads into the nut in the rail end. Finger tight for now.
- Fit the third plain rail at the top rear and the PrintForge nameplate bar at the top front (lettering facing out) the same way.
- Bolt the rear X brace across the back of the upper 4U with four thumb bolts through the bosses on the frames. The lower 4U stays open at the back for long devices.
- Square the rack on a flat surface and tighten all 12 thumb bolts by hand. No tools needed.
- Mount your equipment: M5 or #10-32 screws thread straight into the rack holes. For M4 screws, push an M4 hex nut into the pocket behind the hole first.
Size - Height 404 mm (15.9 in), depth 210 mm (8.3 in), width 255 mm at the posts and 268 mm over the thumb-bolt heads.
- Device depth: no limit in the lower 4U (open back, long devices can stick out); up to 181 mm in the upper 4U (rear brace).
Printed To Order Each kit is printed fresh in our shop on calibrated printers and checked before it ships. Lead time is typically 2-4 business days. Minor layer lines are normal for FDM 3D printing and part of the finish. Rack kit only. Screws and nuts for your equipment, fans and fan screws, rubber feet, and the trays, devices and fans shown in the photos are not included.  |
|